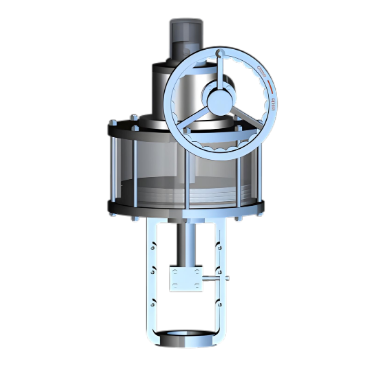
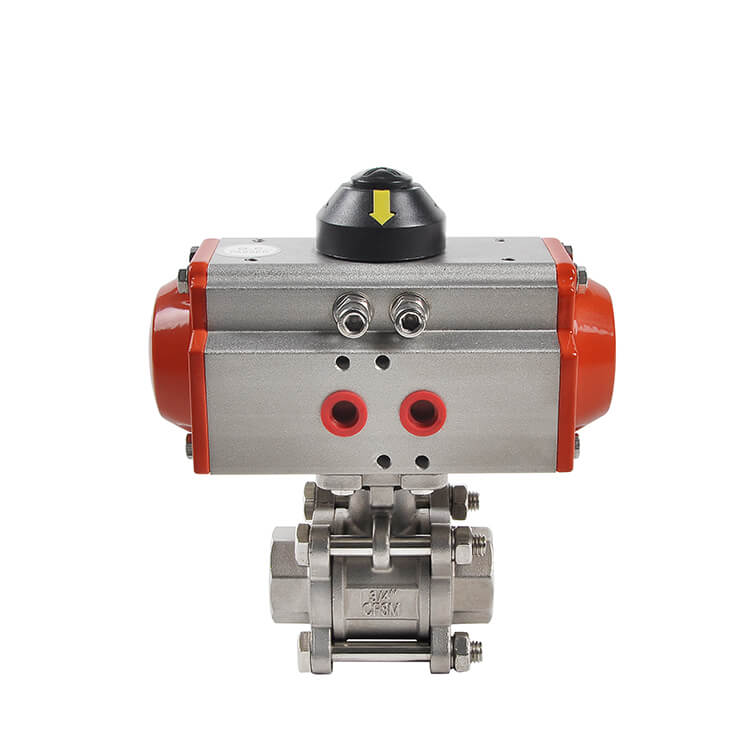
Installation Precautions for Ball Valve Pneumatic Actuators
To ensure optimal performance and longevity, follow these critical steps during installation:
1. Pre-Installation Checks
Verify Compatibility
Match actuator torque (Nm) to valve requirements (add 25% safety margin)
Inspect Air Supply
Ensure clean, dry air (ISO 8573-1 Class 3 or better) at 0.4–0.7 MPa
2. Mounting
Alignment
Use ISO 5211 mounting pads to prevent shaft misalignment (>0.1mm tolerance risks seal damage)
Fastening
Tighten bolts diagonally to specified torque (e.g., 50 Nm for DN100 valves) to avoid distortion
3. Pneumatic Connections
- Tubing: Use oil-resistant hoses; avoid sharp bends that restrict airflow
- Fittings: Apply thread sealant (PTFE tape) only on male threads to prevent debris ingress
4. Electrical & Control
Solenoid Valves
Install upstream with quick exhaust valves for faster response
Positioners
Calibrate to ±0.5% FS accuracy post-installation
5. Post-Installation Tests
Leak Check
Apply soap solution to joints; bubbles indicate leaks
Stroke Test
Verify full travel (90°) under load; adjust limit switches if needed
Critical Notes
- Never test without load – it can damage internal stops
- For hazardous areas, confirm ATEX/IECEx ratings match zone classification
Proper installation prevents 80% of premature failures, ensuring 10+ years of service. Always reference manufacturer manuals for model-specific requirements.
If you want to learn more about low-priced products, please visit the following website: www.xm-valveactuator.com