Technical White Paper: Double Acting Pneumatic Actuator.pdf
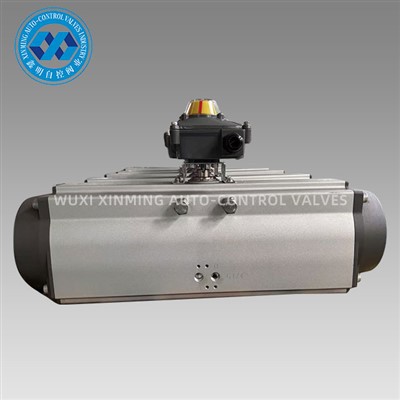
Double-acting pneumatic rotary actuators provide precise angular motion in automation systems, using compressed air to rotate in both clockwise and counterclockwise directions. Proper installation ensures optimal performance, longevity, and safety. This guide covers step-by-step installation procedures, best practices, and troubleshooting tips.
1. Pre-Installation Preparation
Tools & Materials Required
- Actuator & mounting hardware (bolts, brackets, couplings)
- Pneumatic fittings & tubing (NPT, BSPP, or metric threads)
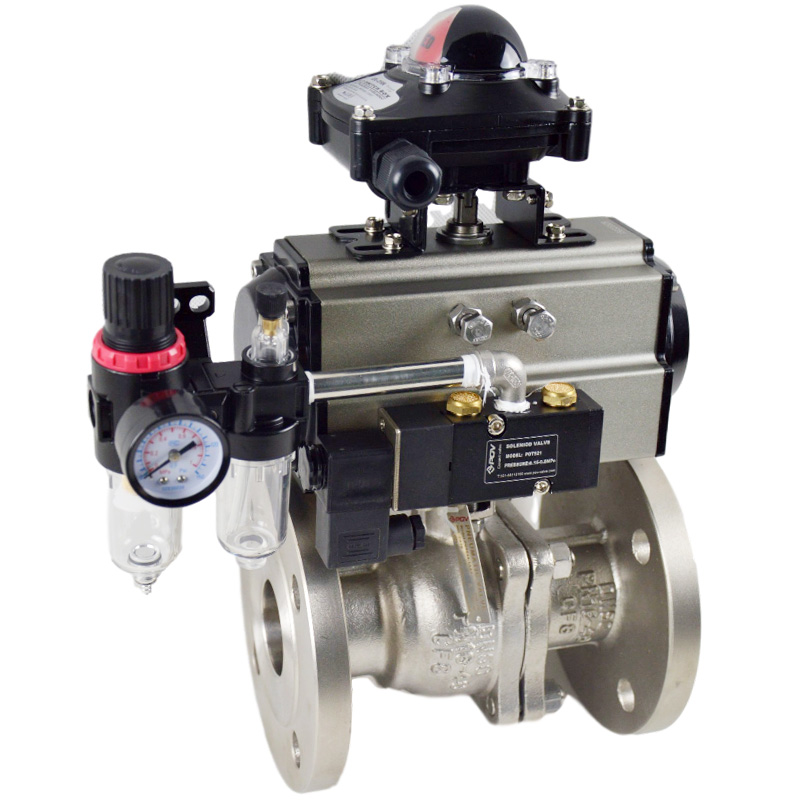
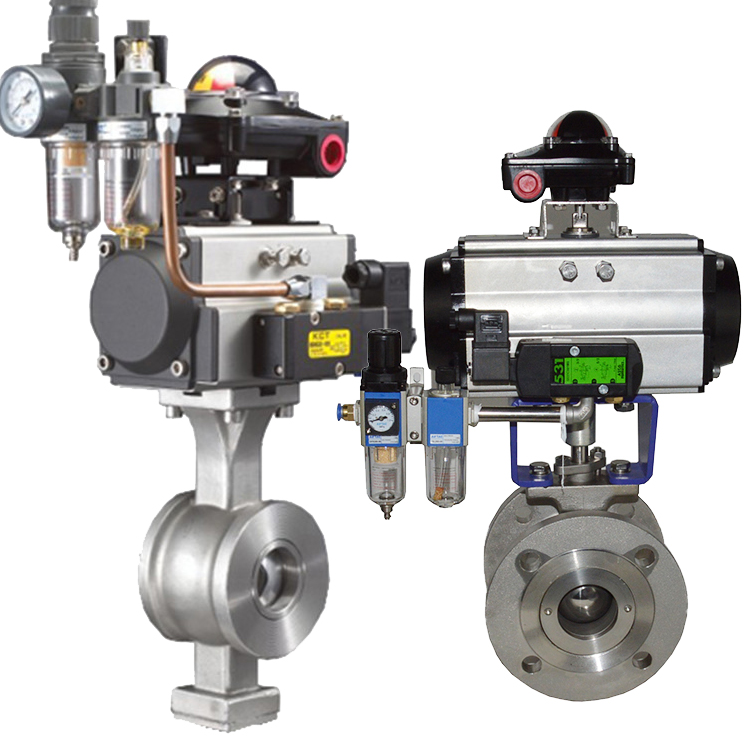
- Air supply system (filter-regulator-lubricator, FRL unit)
- Torque wrench & hex keys
- Thread sealant (PTFE tape or liquid sealant)
- Alignment tools (dial indicator, laser alignment if needed)
Safety Precautions
✔ Depressurize the system before installation.
✔ Wear PPE (gloves, safety glasses).
✔ Ensure the actuator matches the valve/load specifications (torque, rotation angle).
2. Installation Steps
Step 1: Mounting the Actuator
- Align the actuator shaft with the driven component (valve, damper, or machine).
- Use proper mounting brackets (ISO 5211, DIN 3337, or custom flanges).
- Tighten bolts evenly to avoid misalignment (follow manufacturer torque specs).
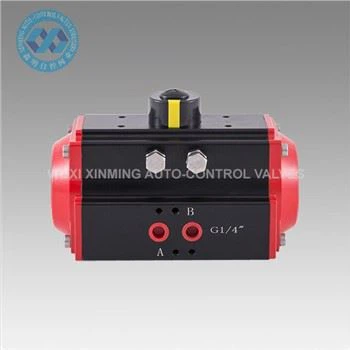
Step 2: Connecting Pneumatic Lines
- Install air supply lines using compatible fittings (NPT, BSPP, or push-to-connect).
- Apply thread sealant (PTFE tape or liquid sealant) to prevent leaks.
- Connect Port A (clockwise rotation) & Port B (counterclockwise rotation) to the control valve.
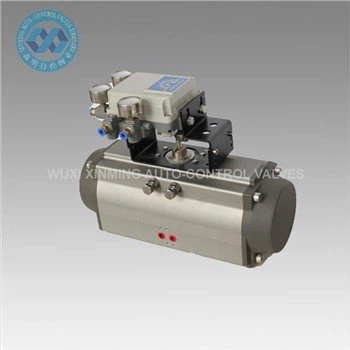
Step 3: Air Supply Setup
- Install an FRL unit (Filter-Regulator-Lubricator) to ensure clean, dry air.
- Set the operating pressure (typically 4-7 bar / 60-100 psi).
- Check for leaks using soapy water or a leak detector.
Step 4: Manual Override (If Applicable)
- Some actuators have a handwheel or lever for manual operation.
- Ensure it disengages automatically when air pressure is restored.
Step 5: Testing & Calibration
- Perform a dry run without load to check rotation.
- Adjust end stops (if available) to fine-tune rotation angle (90°, 180°, etc.).
- Verify torque output matches the application requirements.
3. Troubleshooting Common Issues
4. Maintenance Tips
✔ Lubricate moving parts periodically (if non-lubricated design, use an FRL unit).
✔ Inspect seals & O-rings for wear and replace if necessary.
✔ Monitor air quality to prevent moisture or debris buildup.
Conclusion
Proper installation of a double-acting pneumatic rotary actuator ensures efficient, long-lasting performance. Always follow manufacturer guidelines and perform regular maintenance.
If you want to learn more about low-priced products, please visit the following website: www.xm-valveactuator.com