180° Pneumatic Actuator Inspection Protocol
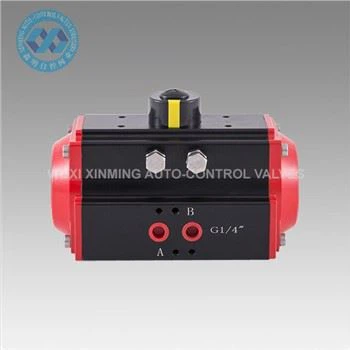
Visual Examination of Exteriors
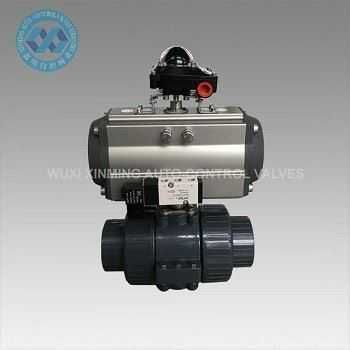
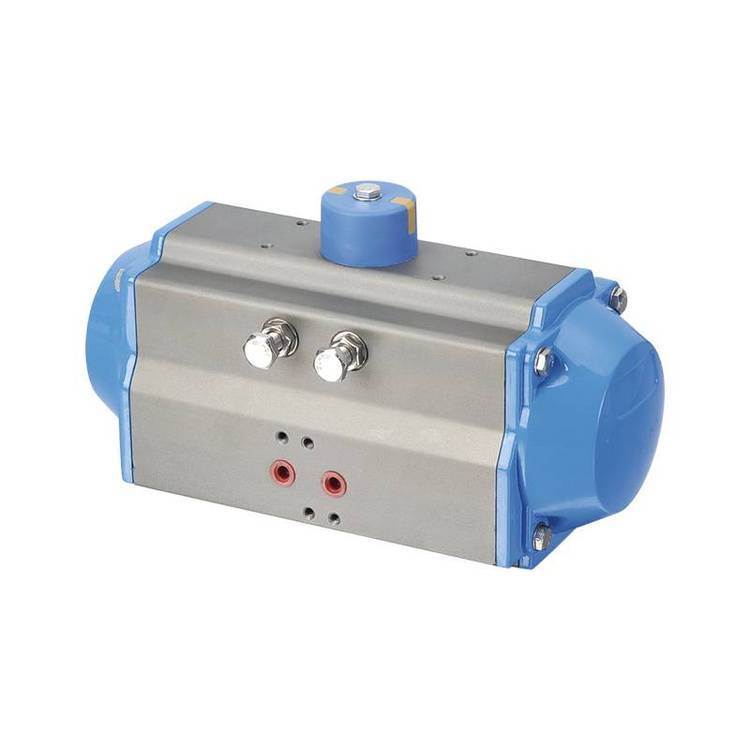
Inspect the housing for signs of corrosion, cracks, or physical damage. Check for loose bolts, misalignment, or leaks around seals and connections. Ensure no debris accumulates on the actuator that could hinder movement.
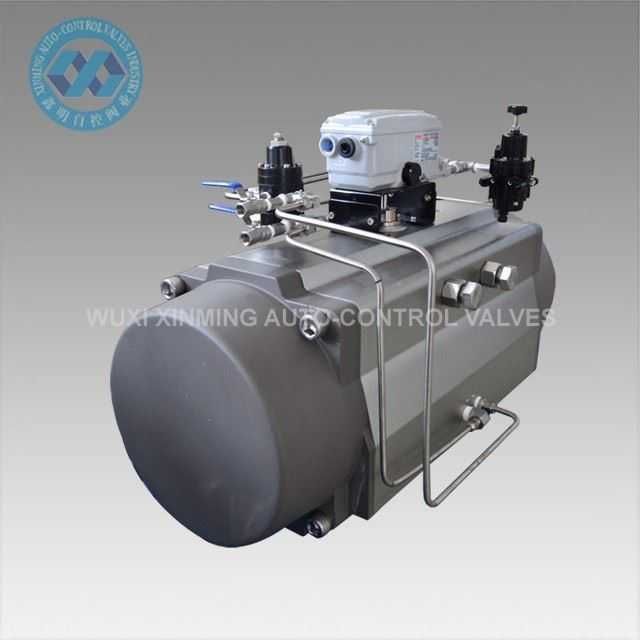
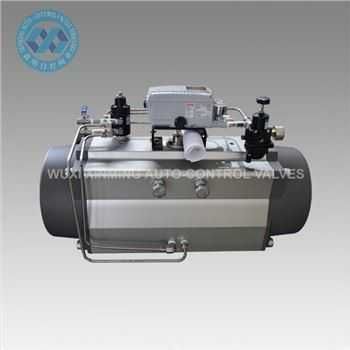
Air Supply and Leak Detection
Verify air pressure meets manufacturer specifications (typically 40-120 PSI). Use soapy water solution to check fittings, hoses, and connections for leaks that reduce efficiency.
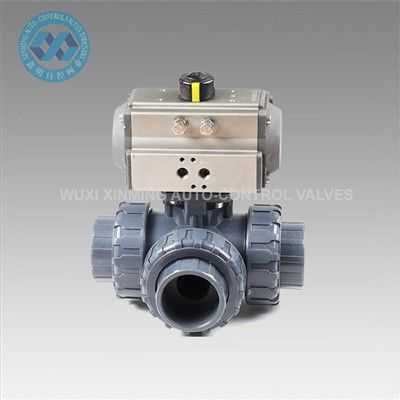
Functional Movement Check
Operate the actuator through its full 180-degree range. Observe for smooth movement, unusual vibrations, or sticking. Note any response delays indicating worn components.
Lubrication and Component Wear
Check lubricant levels and quality in gearboxes. Inspect seals, O-rings, and gaskets for wear, cracks, or hardening. Replace if damaged to prevent leaks.
Inspection Frequency Recommendations
- Daily: Visual checks for obvious damage or leaks
- Weekly: Operational tests through full range
- Monthly: Comprehensive leak detection
- Quarterly: Lubrication inspection and replenishment
- Annually: Complete component wear assessment
- 2-3 Years: Full seal replacement cycle
If you want to learn more about low-priced products, please visit the following website: www.xm-valveactuator.com