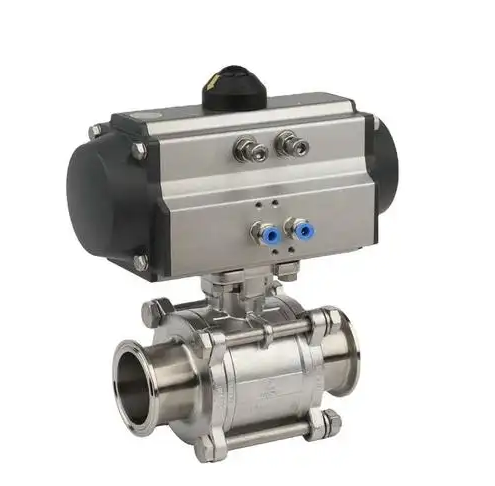
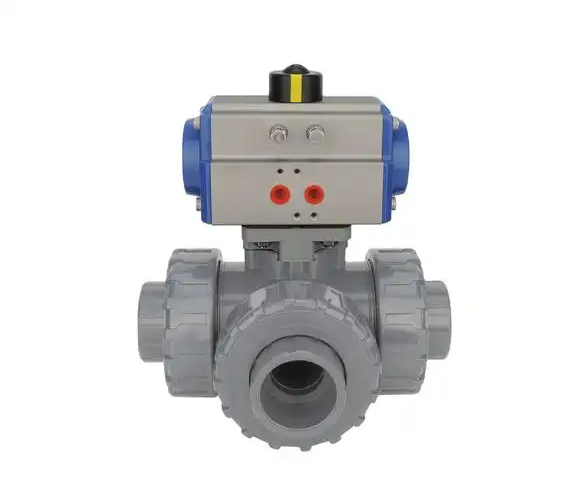
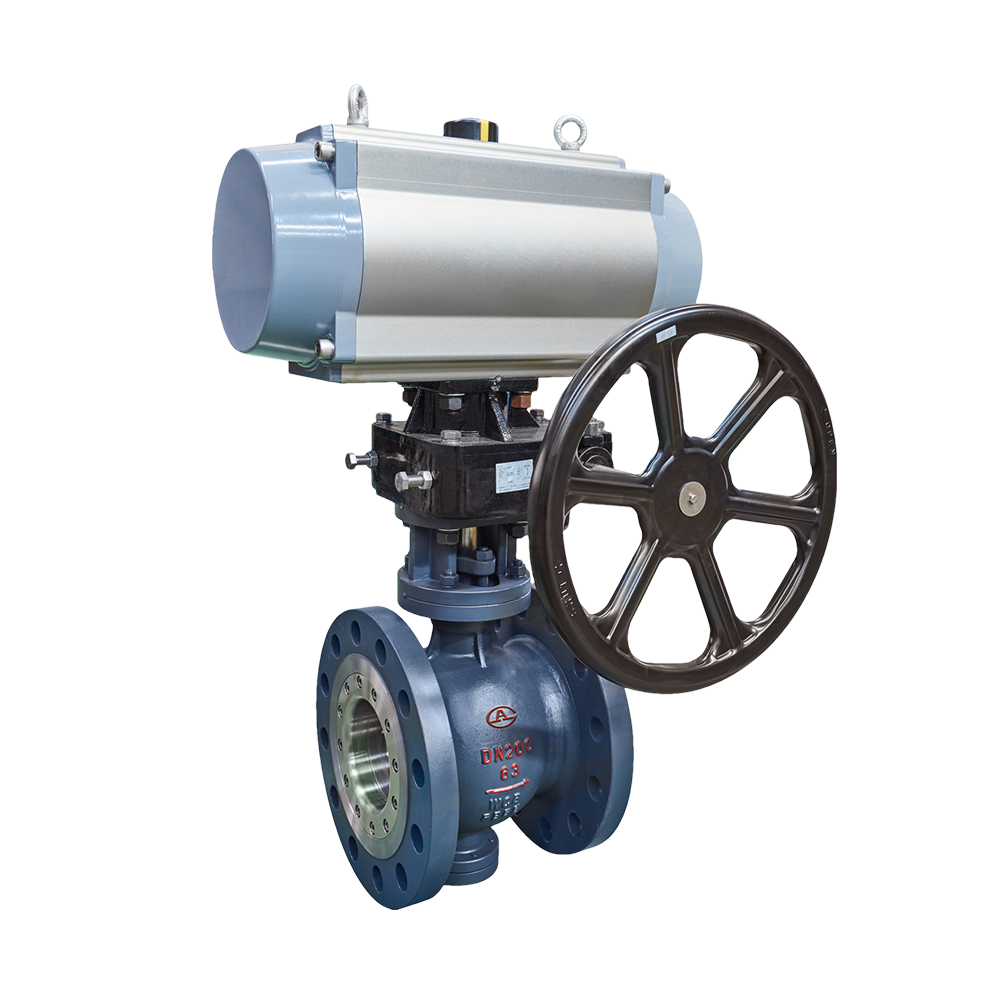
Preparation
Ensure the ball valve and actuator are
compatible in size, torque, and mounting standard (ISO 5211, DIN, or ANSI).
Verify the actuator’s rotation (clockwise
or counter-clockwise) matches the valve’s operation.
Alignment
Place the actuator onto the valve stem,
ensuring proper alignment of mounting holes.
Use a coupling adapter if necessary for
different stem connections.
Mounting
Secure the actuator to the valve using the
provided bolts, tightening them evenly in a crisscross pattern to avoid
misalignment.
Ensure no gaps exist between the actuator
and valve flange.
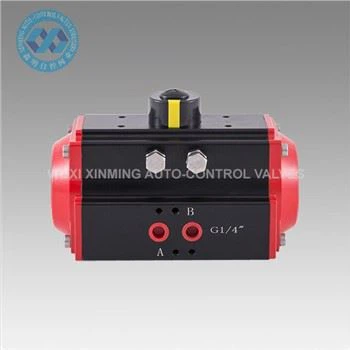
Pneumatic Connection
Connect the air supply tubing to the
actuator ports (typically marked "Open" and "Close").
Use thread sealant or Teflon tape on
fittings to prevent leaks.
Testing
Apply air pressure (typically 4-6 bar) and check for smooth 90-degree rotation.
Verify no air leaks and that the valve
fully opens/closes.
Final Adjustment
Adjust limit switches (if equipped) to set
proper open/close positions.
Secure all connections and perform a final
operational test.
If you want to learn more about low-priced products, please visit the following website: www.xm-valveactuator.com