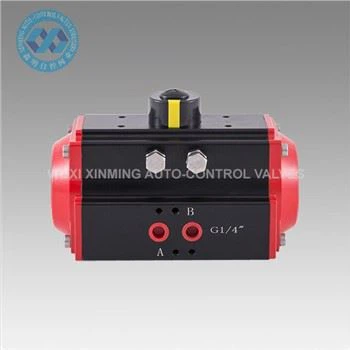
Single Acting Pneumatic Actuator Installation
Proper installation ensures reliable operation and extends service life of pneumatic actuators
Installation Procedure
Proper installation of a single acting pneumatic actuator ensures reliable operation and extends its service life. Begin by preparing the installation area, ensuring the mounting surface is clean, flat, and free from debris that could affect alignment.
Preparation
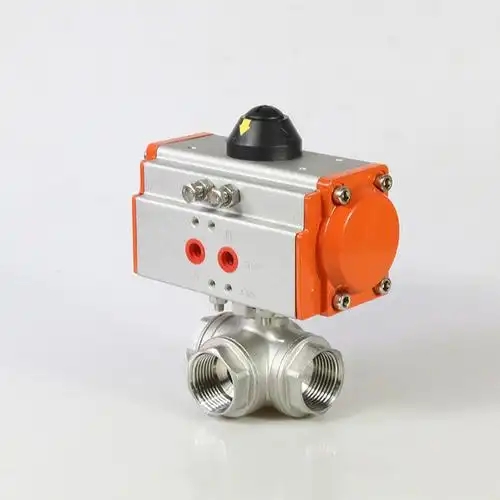
Verify that the actuator and connected equipment, such as valves or dampers, are compatible in terms of size and torque requirements.
Inspection
Before mounting, inspect all components for damage. Check seals, O-rings, and spring mechanisms to ensure they are intact and free from defects.
Alignment
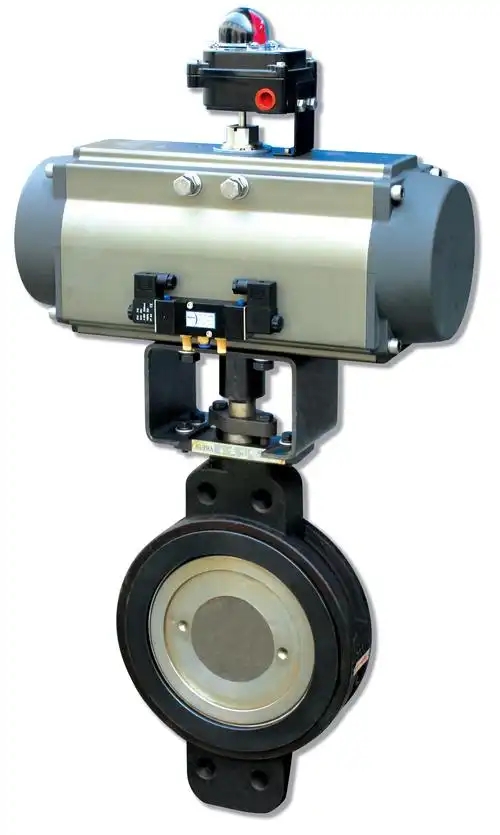
Align the actuator with the driven device carefully, ensuring the shaft connections are properly engaged without excessive force.
Misalignment can cause premature wear and operational issues. Secure the actuator using appropriate fasteners, ensuring a firm fit without over-tightening, which may distort components.
Air Connection
Connect the air supply line to the actuator's port, using clean, dry compressed air as recommended by the manufacturer. Install any required filters or regulators in the air line to protect internal components from contaminants and pressure fluctuations.
Testing
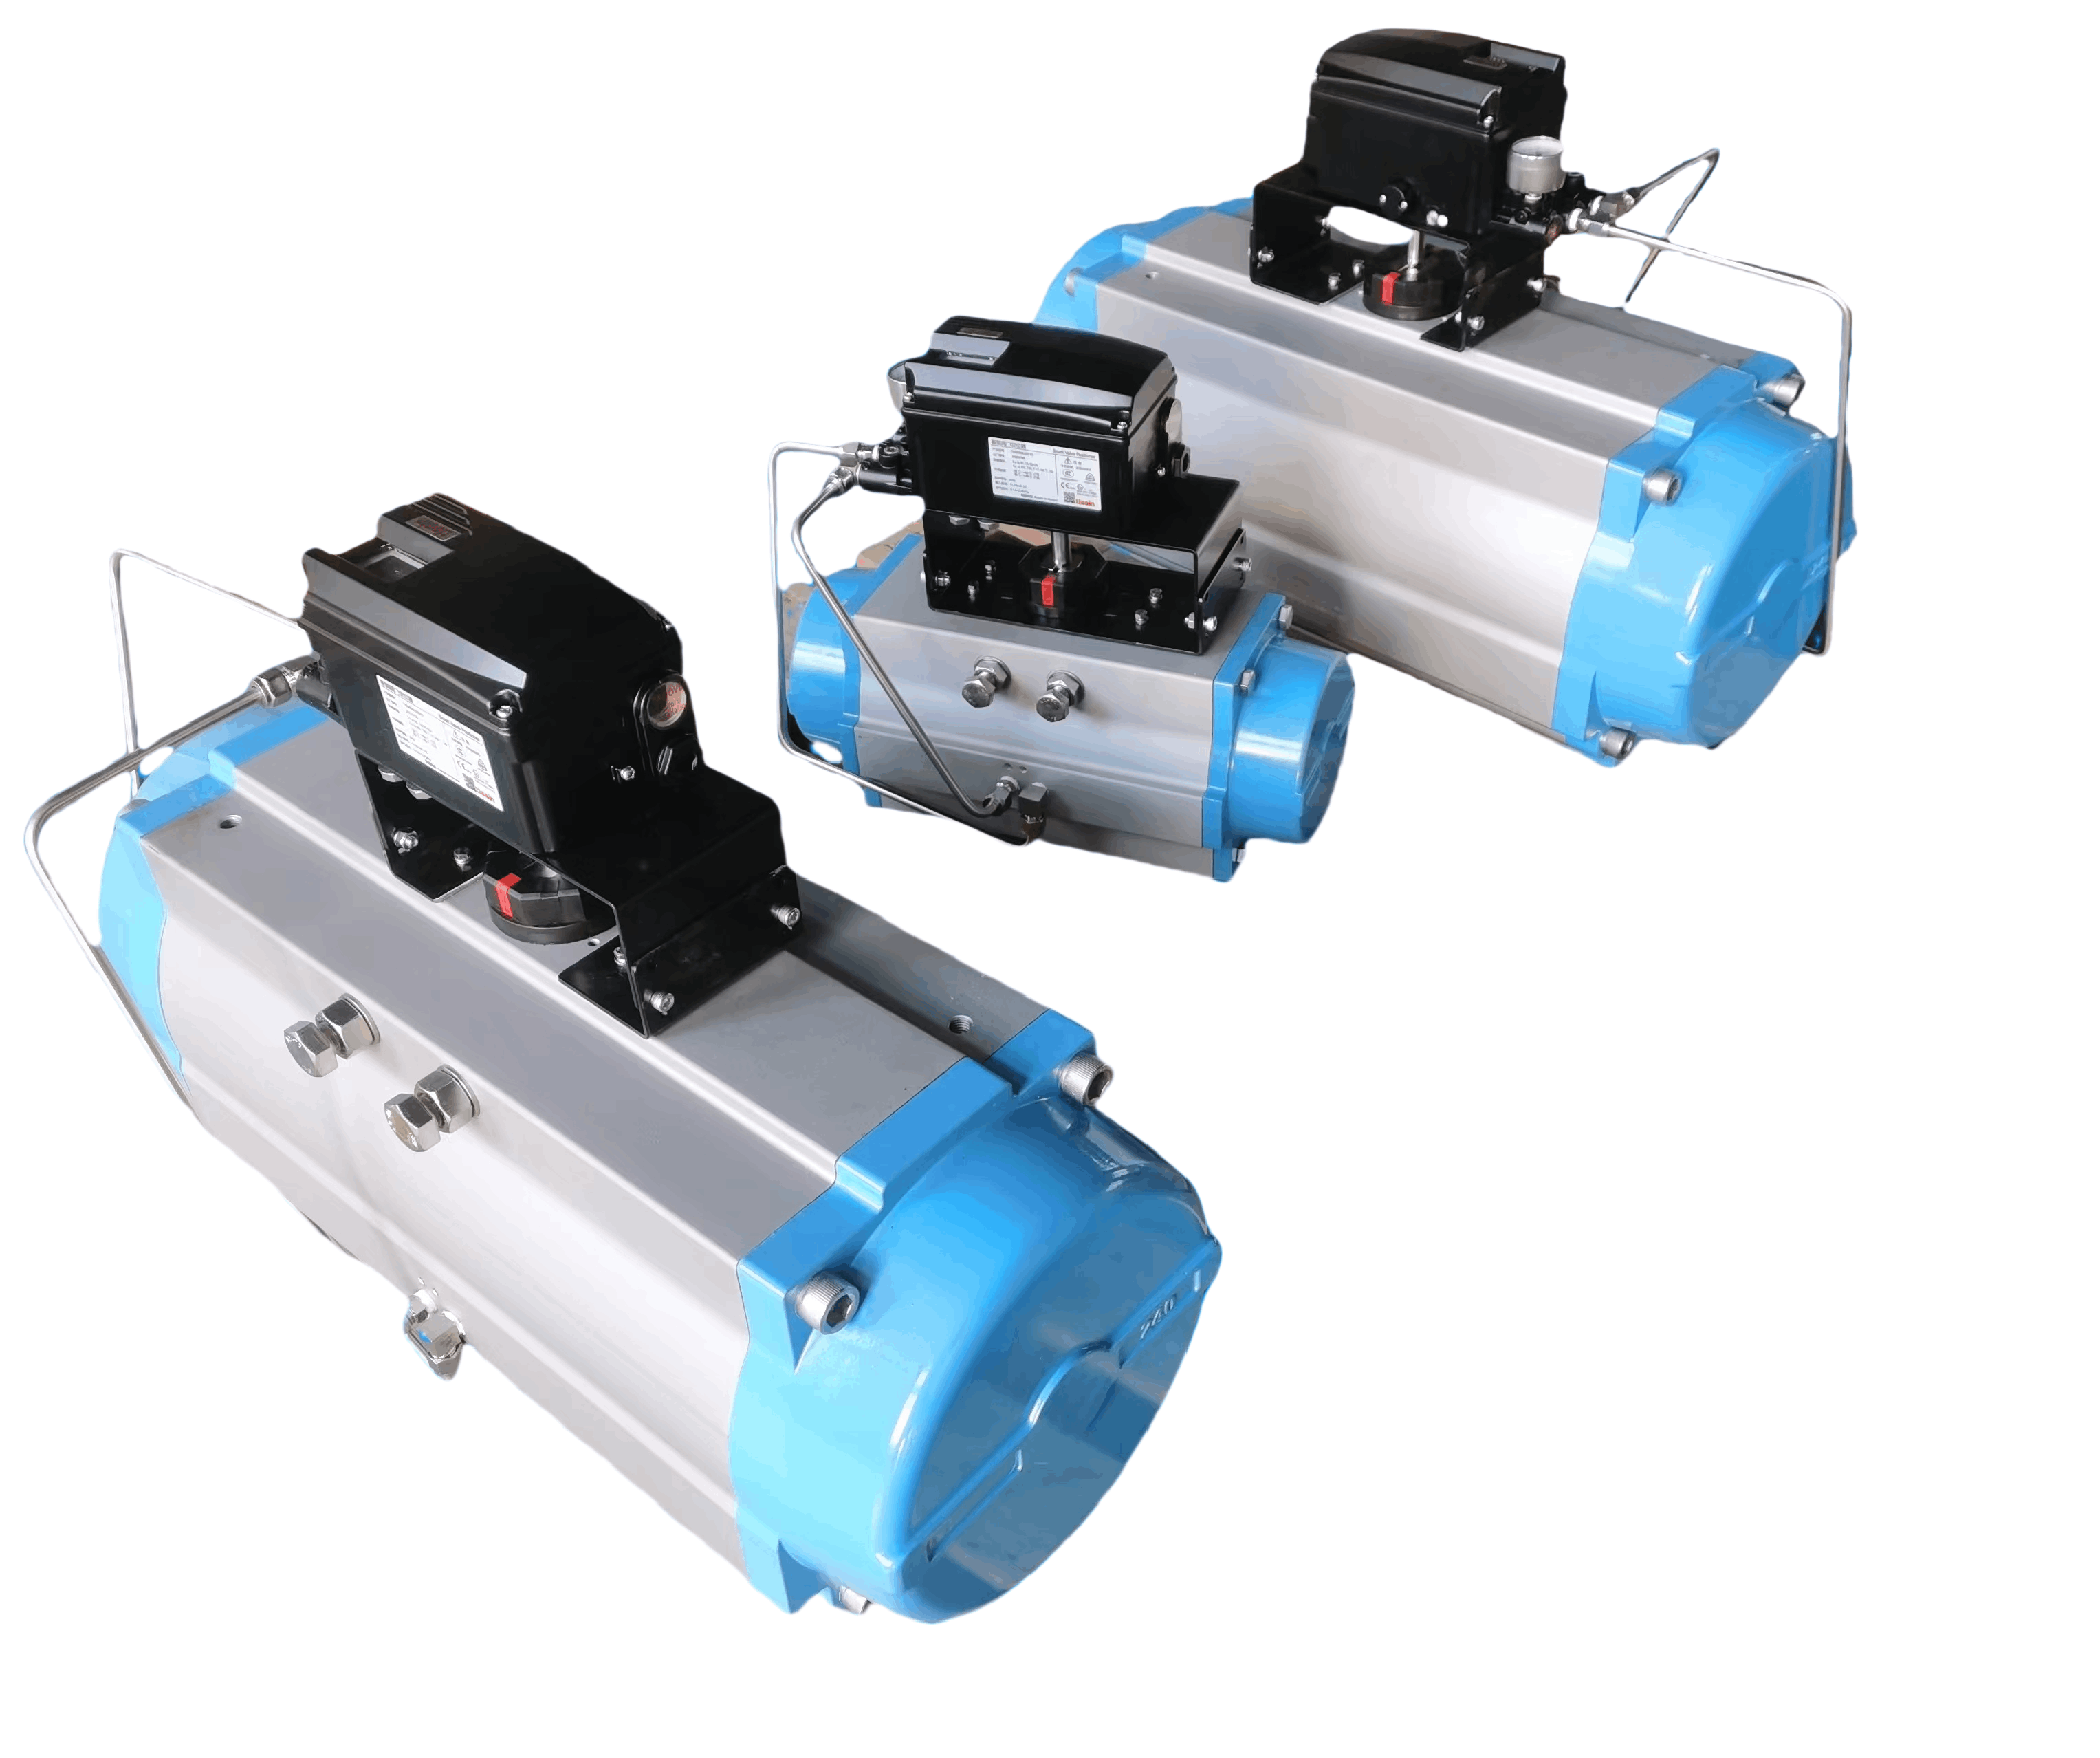
After mechanical and air connections are complete, perform a test operation. Activate the actuator with the control signal to check for smooth movement and proper spring return when air pressure is released.
Verify that the actuator reaches full stroke in both directions without binding or unusual noise. Finally, conduct a leak test on all air connections and ensure safety features, such as limit switches if present, function correctly.
If you want to learn more about low-priced products, please visit the following website: www.xm-valveactuator.com