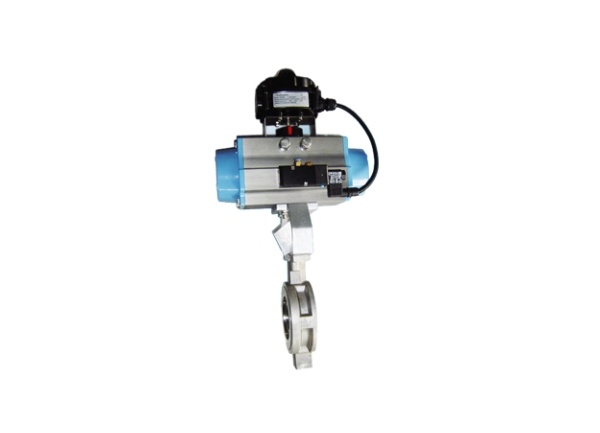
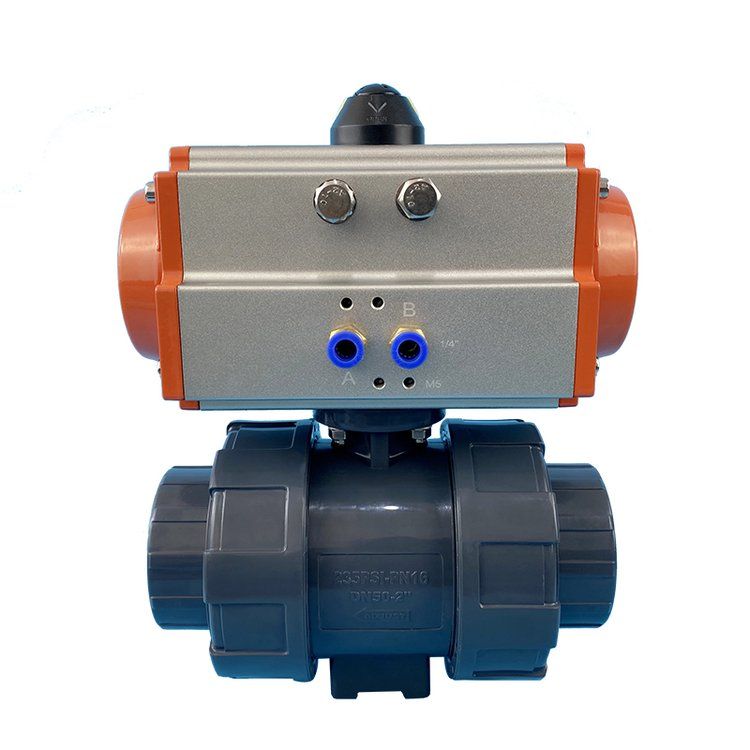
Replacing seals in a pneumatic piston
actuator demands a systematic approach. First, ensure safety by disconnecting
the actuator from the air supply and relieving any residual pressure. Gather
the necessary tools, such as wrenches, pliers, and the appropriate replacement
seals that match the actuator's specifications.
Next, carefully disassemble the actuator.
Remove the end caps, pistons, and other components, taking note of their
orientation and position for proper reassembly. Use a seal puller or similar
tool to gently remove the old seals from their grooves. Clean these grooves
thoroughly with a non - abrasive solvent to remove dirt, debris, and old
lubricant remnants.
When installing new seals, apply a thin
layer of compatible lubricant to them. This reduces friction during
installation and helps the seals seat properly. Insert the seals into their
respective grooves, ensuring they are fully seated and there are no twists or
folds.
Finally, reassemble the actuator in reverse
order of disassembly. Afterward, reconnect the air supply and conduct a test
run. Check for any air leaks around the newly installed seals. If leaks occur,
double - check the installation and make necessary adjustments. Following these
steps ensures a successful seal replacement and restores the actuator's
performance.
If you want to learn more about low-priced products, please visit the following website: www.xm-valveactuator.com