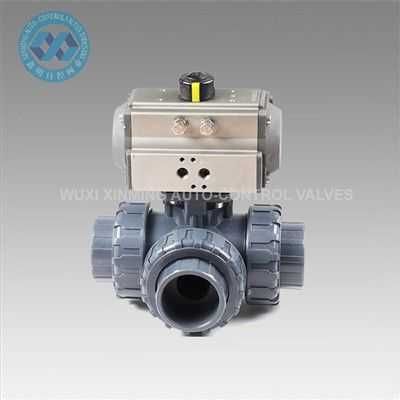
Pneumatic Actuator Ball Valve Leakage Resolution
To resolve leakage in a pneumatic actuator ball valve, systematic troubleshooting and targeted fixes are essential. Here's a step-by-step approach:
1Identify Leak Sources
- Pinpoint leakage areas: valve body joints, stem seals, ball-seat interfaces, or actuator air connections
- Use a soapy water solution on suspect areas; bubbles indicate air or fluid escape
- Mark leak locations for targeted repairs
2Tighten Connections
For leaks at flange joints or threaded connections, check if bolts/nuts are loose due to vibration or improper installation. Retighten them evenly using a torque wrench to the manufacturer's specifications to avoid warping gaskets.
3Inspect and Replace Seals/Seats
- Leakage between the ball and seats often stems from worn, cracked, or misaligned seals
- Disassemble the valve and clean the ball and seat surfaces
- Replace damaged components with material-matched seals (PTFE for corrosive fluids, nitrile for oils)
4Address Stem Packing Issues
Stem leakage typically results from worn packing glands. Tighten the packing nut slightly to compress the packing material (e.g., graphite, PTFE). If leakage persists, replace old packing with fresh, properly sized rings.
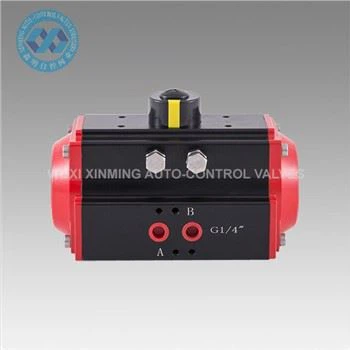
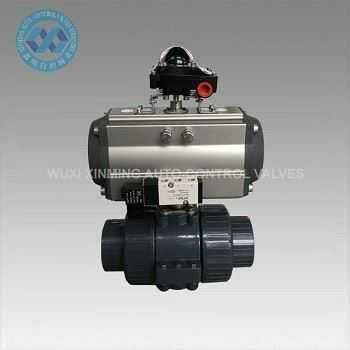
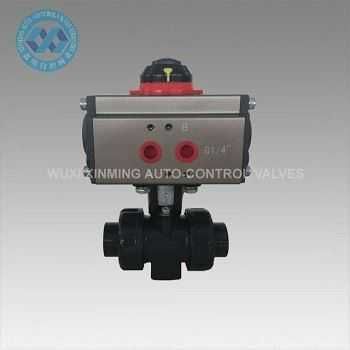
5Check Actuator Integrity
- Inspect hoses, fittings, and diaphragms/pistons for air leaks
- Replace cracked hoses and tighten loose fittings
- Repair or replace damaged diaphragms/pistons to restore air pressure integrity
6Calibrate and Adjust Actuator
Recalibrate the positioner to ensure the actuator drives the ball to a tight shut-off position. Check for mechanical binding in the valve stem or actuator linkage and lubricate moving parts if necessary.
7Preventative Maintenance
- Regularly clean the valve and lubricate moving components
- Inspect seals/seats for early wear signs
- Operate within rated pressure/temperature ranges
- Avoid over-tightening components
If you want to learn more about low-priced products, please visit the following website: www.xm-valveactuator.com