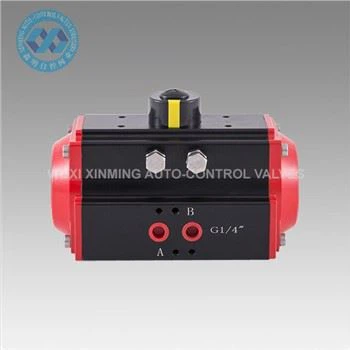
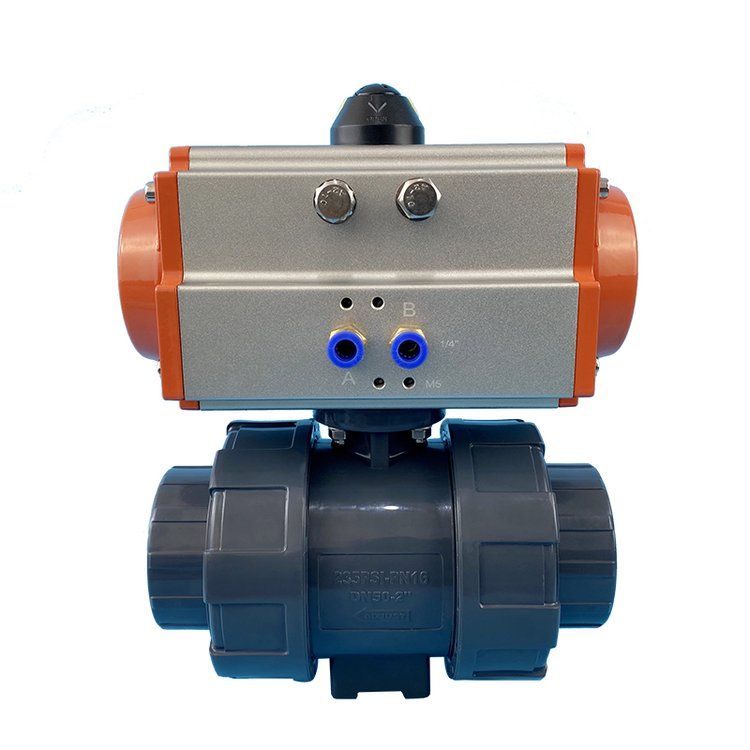
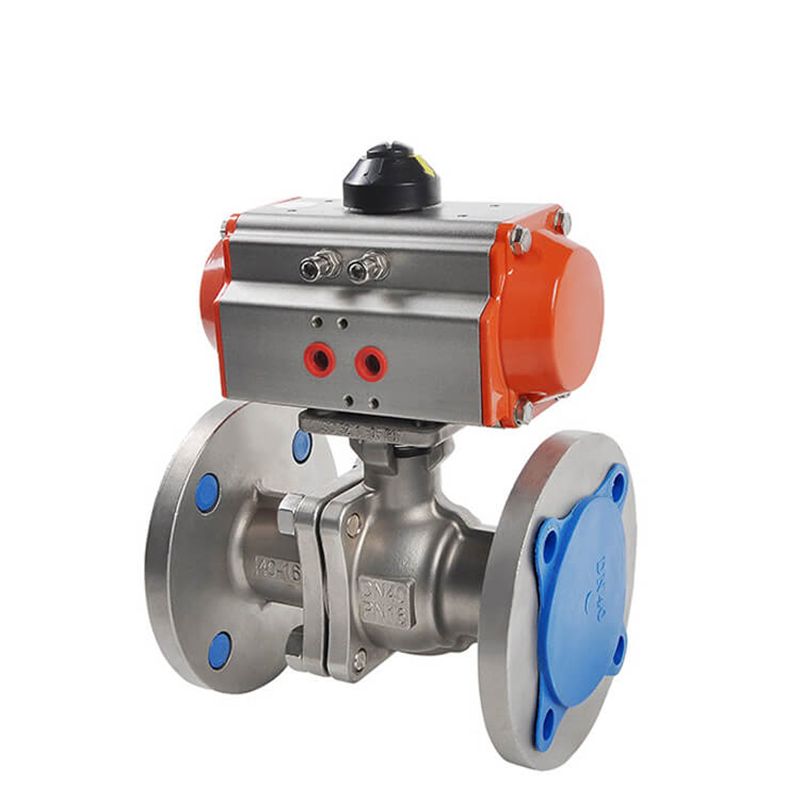
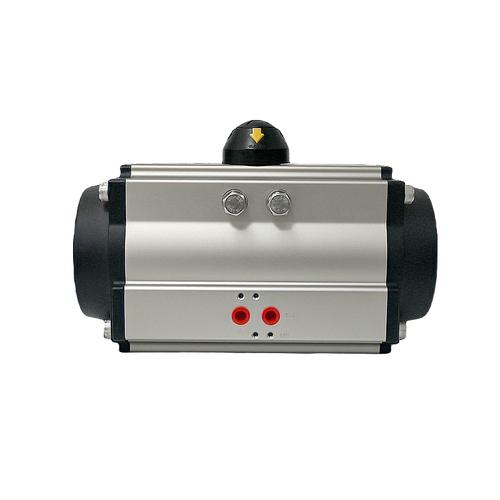
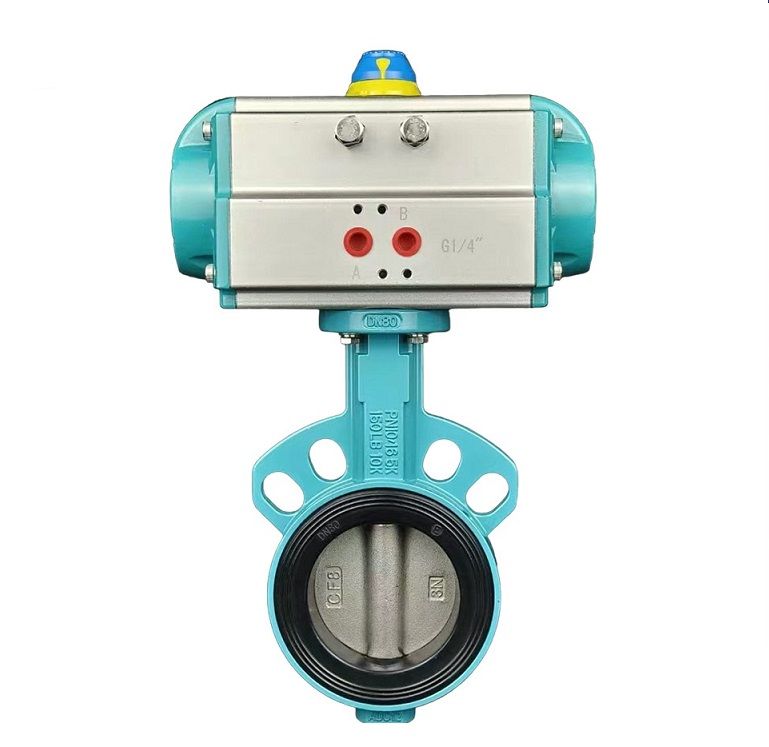
Spring Return Pneumatic Actuator
Installation Guide & Best Practices
Installation Procedure
-
1Pre-Installation PreparationReview the manufacturer's guidelines thoroughly to understand specific requirements for the actuator model. Inspect the actuator and its accessories for physical damage. Clean the actuator's mounting surfaces and the connected equipment to remove dust, oil, or debris.
-
2Positioning the ActuatorAlign the actuator's output shaft with the valve stem or the driven component, ensuring the connection is concentric. Confirm the actuator's default reset position matches the system's safety requirements. Secure the actuator using the recommended fasteners.
-
3Connecting Pneumatic LinesIdentify the air inlet port on the actuator and attach the compressed air line using compatible fittings. Ensure the line is free of leaks. Install any required flow control valves or regulators in the pneumatic line.
-
4Electrical Connection (if applicable)For actuators with position sensors or solenoid valves, connect the electrical wires to the appropriate power source and control system. Ensure all electrical connections are insulated to prevent short circuits.
-
5Post-Installation ChecksSupply compressed air to the actuator to test its movement. Verify it extends and retracts smoothly and resets to the default position when air pressure is removed. Test the integrated system to ensure it operates in sync with control signals.
Important Note
Always follow manufacturer-specific instructions and local safety regulations when installing pneumatic actuators. Incorrect installation may lead to equipment failure or safety hazards.
If you want to learn more about low-priced products, please visit the following website: www.xm-valveactuator.com