Introduction
Proper pneumatic actuator installation is critical to ensure reliable operation, safety, and longevity of automated systems. Whether for valve automation or machinery control, following correct installation procedures minimizes downtime and prevents premature failures. This guide provides a comprehensive overview of pneumatic actuator installation best practices, key steps, and common pitfalls to avoid.
Why Proper Pneumatic Actuator Installation Matters
Incorrect installation can cause air leaks, misalignment, reduced actuator life, and operational inefficiencies. It also increases maintenance costs and safety risks. Ensuring the actuator is installed correctly guarantees smooth performance and system reliability.
Pre-Installation Checklist
-
Verify actuator model and specifications match the application requirements.
-
Inspect actuator and valve or equipment for damage during shipping.
-
Confirm availability of necessary tools and accessories (mounting brackets, couplings, bolts).
-
Prepare clean, dry compressed air supply within specified pressure range.
-
Review manufacturer’s installation manual and safety guidelines.
Step-by-Step Pneumatic Actuator Installation Process
Step 1: Prepare the Mounting Surface
-
Ensure the valve or equipment mounting flange is clean and free of debris.
-
Check flange dimensions and mounting holes for compatibility.
Step 2: Mount the Actuator
-
Align the actuator shaft with the valve stem or equipment interface carefully.
-
Use appropriate couplings or adapters if needed.
-
Secure actuator firmly with bolts or clamps as per manufacturer recommendations.
Step 3: Connect Pneumatic Lines
-
Connect the compressed air supply lines to actuator ports.
-
Use quality fittings and ensure proper sealing to prevent leaks.
-
Follow the correct air supply direction for single- or double-acting actuators.
Step 4: Install Accessories
-
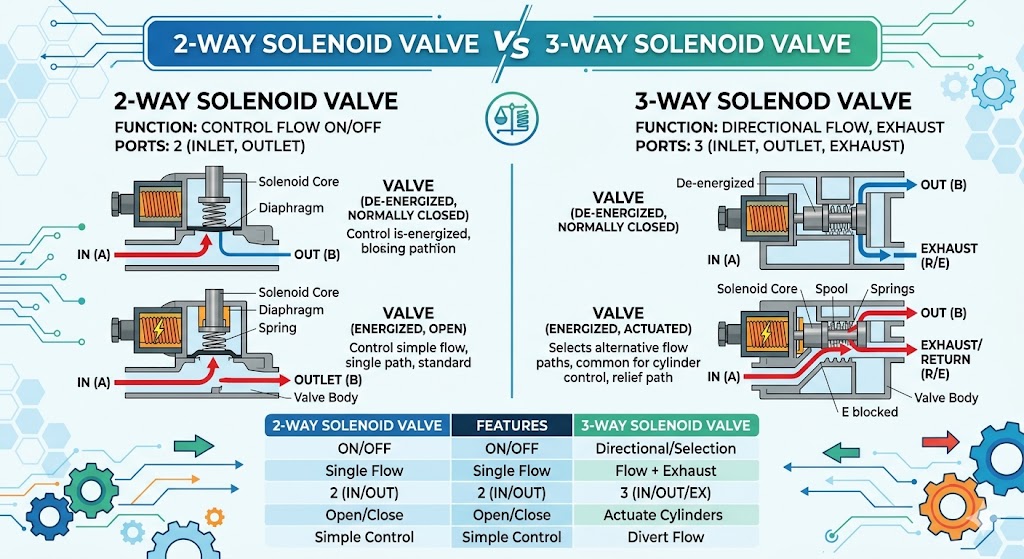
Attach limit switches, positioners, or solenoid valves as required.
-
Connect wiring and control signals according to electrical schematics.
Step 5: Perform Initial Testing
-
Apply air pressure gradually and observe actuator movement.
-
Verify full range of motion without binding or excessive noise.
-
Adjust stroke or torque settings if applicable.
Step 6: Final Inspection and Documentation
-
Check for air leaks at all connections.
-
Confirm secure mounting and correct alignment.
-
Record installation details and baseline performance data.
Common Installation Mistakes to Avoid
-
Misalignment causing shaft or coupling damage.
-
Using incorrect or damaged fittings leading to air leaks.
-
Over-tightening bolts causing actuator housing deformation.
-
Ignoring manufacturer torque and stroke settings.
-
Skipping functional tests before system startup.
Maintenance After Installation
-
Regularly inspect air lines and fittings for leaks.
-
Lubricate actuator moving parts if required.
-
Periodically test actuator response and recalibrate accessories.
-
Clean actuator surface to prevent dust or corrosion buildup.
Conclusion
Correct pneumatic actuator installation ensures efficient, safe, and long-lasting operation of automated systems. By carefully following the steps outlined and adhering to manufacturer guidelines, you can reduce failures, optimize performance, and extend actuator lifespan.
FAQ — Pneumatic Actuator Installation
Q1: Can I install a pneumatic actuator myself?
Yes, if you have technical knowledge and follow the manufacturer’s instructions carefully. Otherwise, seek professional help.
Q2: How long does pneumatic actuator installation take?
Typically between 1 to 3 hours depending on system complexity.
Q3: What tools are needed for installation?
Commonly needed are wrenches, screwdrivers, torque wrench, sealant tape, and alignment tools.
If you want to learn more about low-priced products, please visit the following website: www.xm-valveactuator.com