Butterfly Valve Positioner Calibration Procedure
Ensuring precise control over media flow through proper alignment of positioner signal output with valve stroke
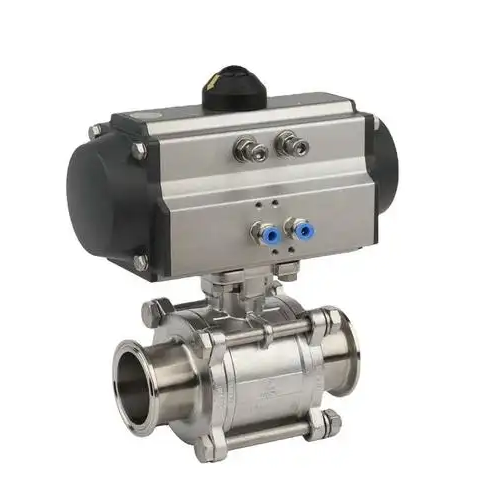
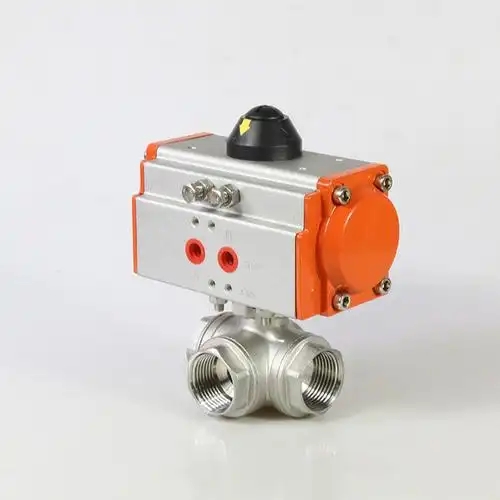
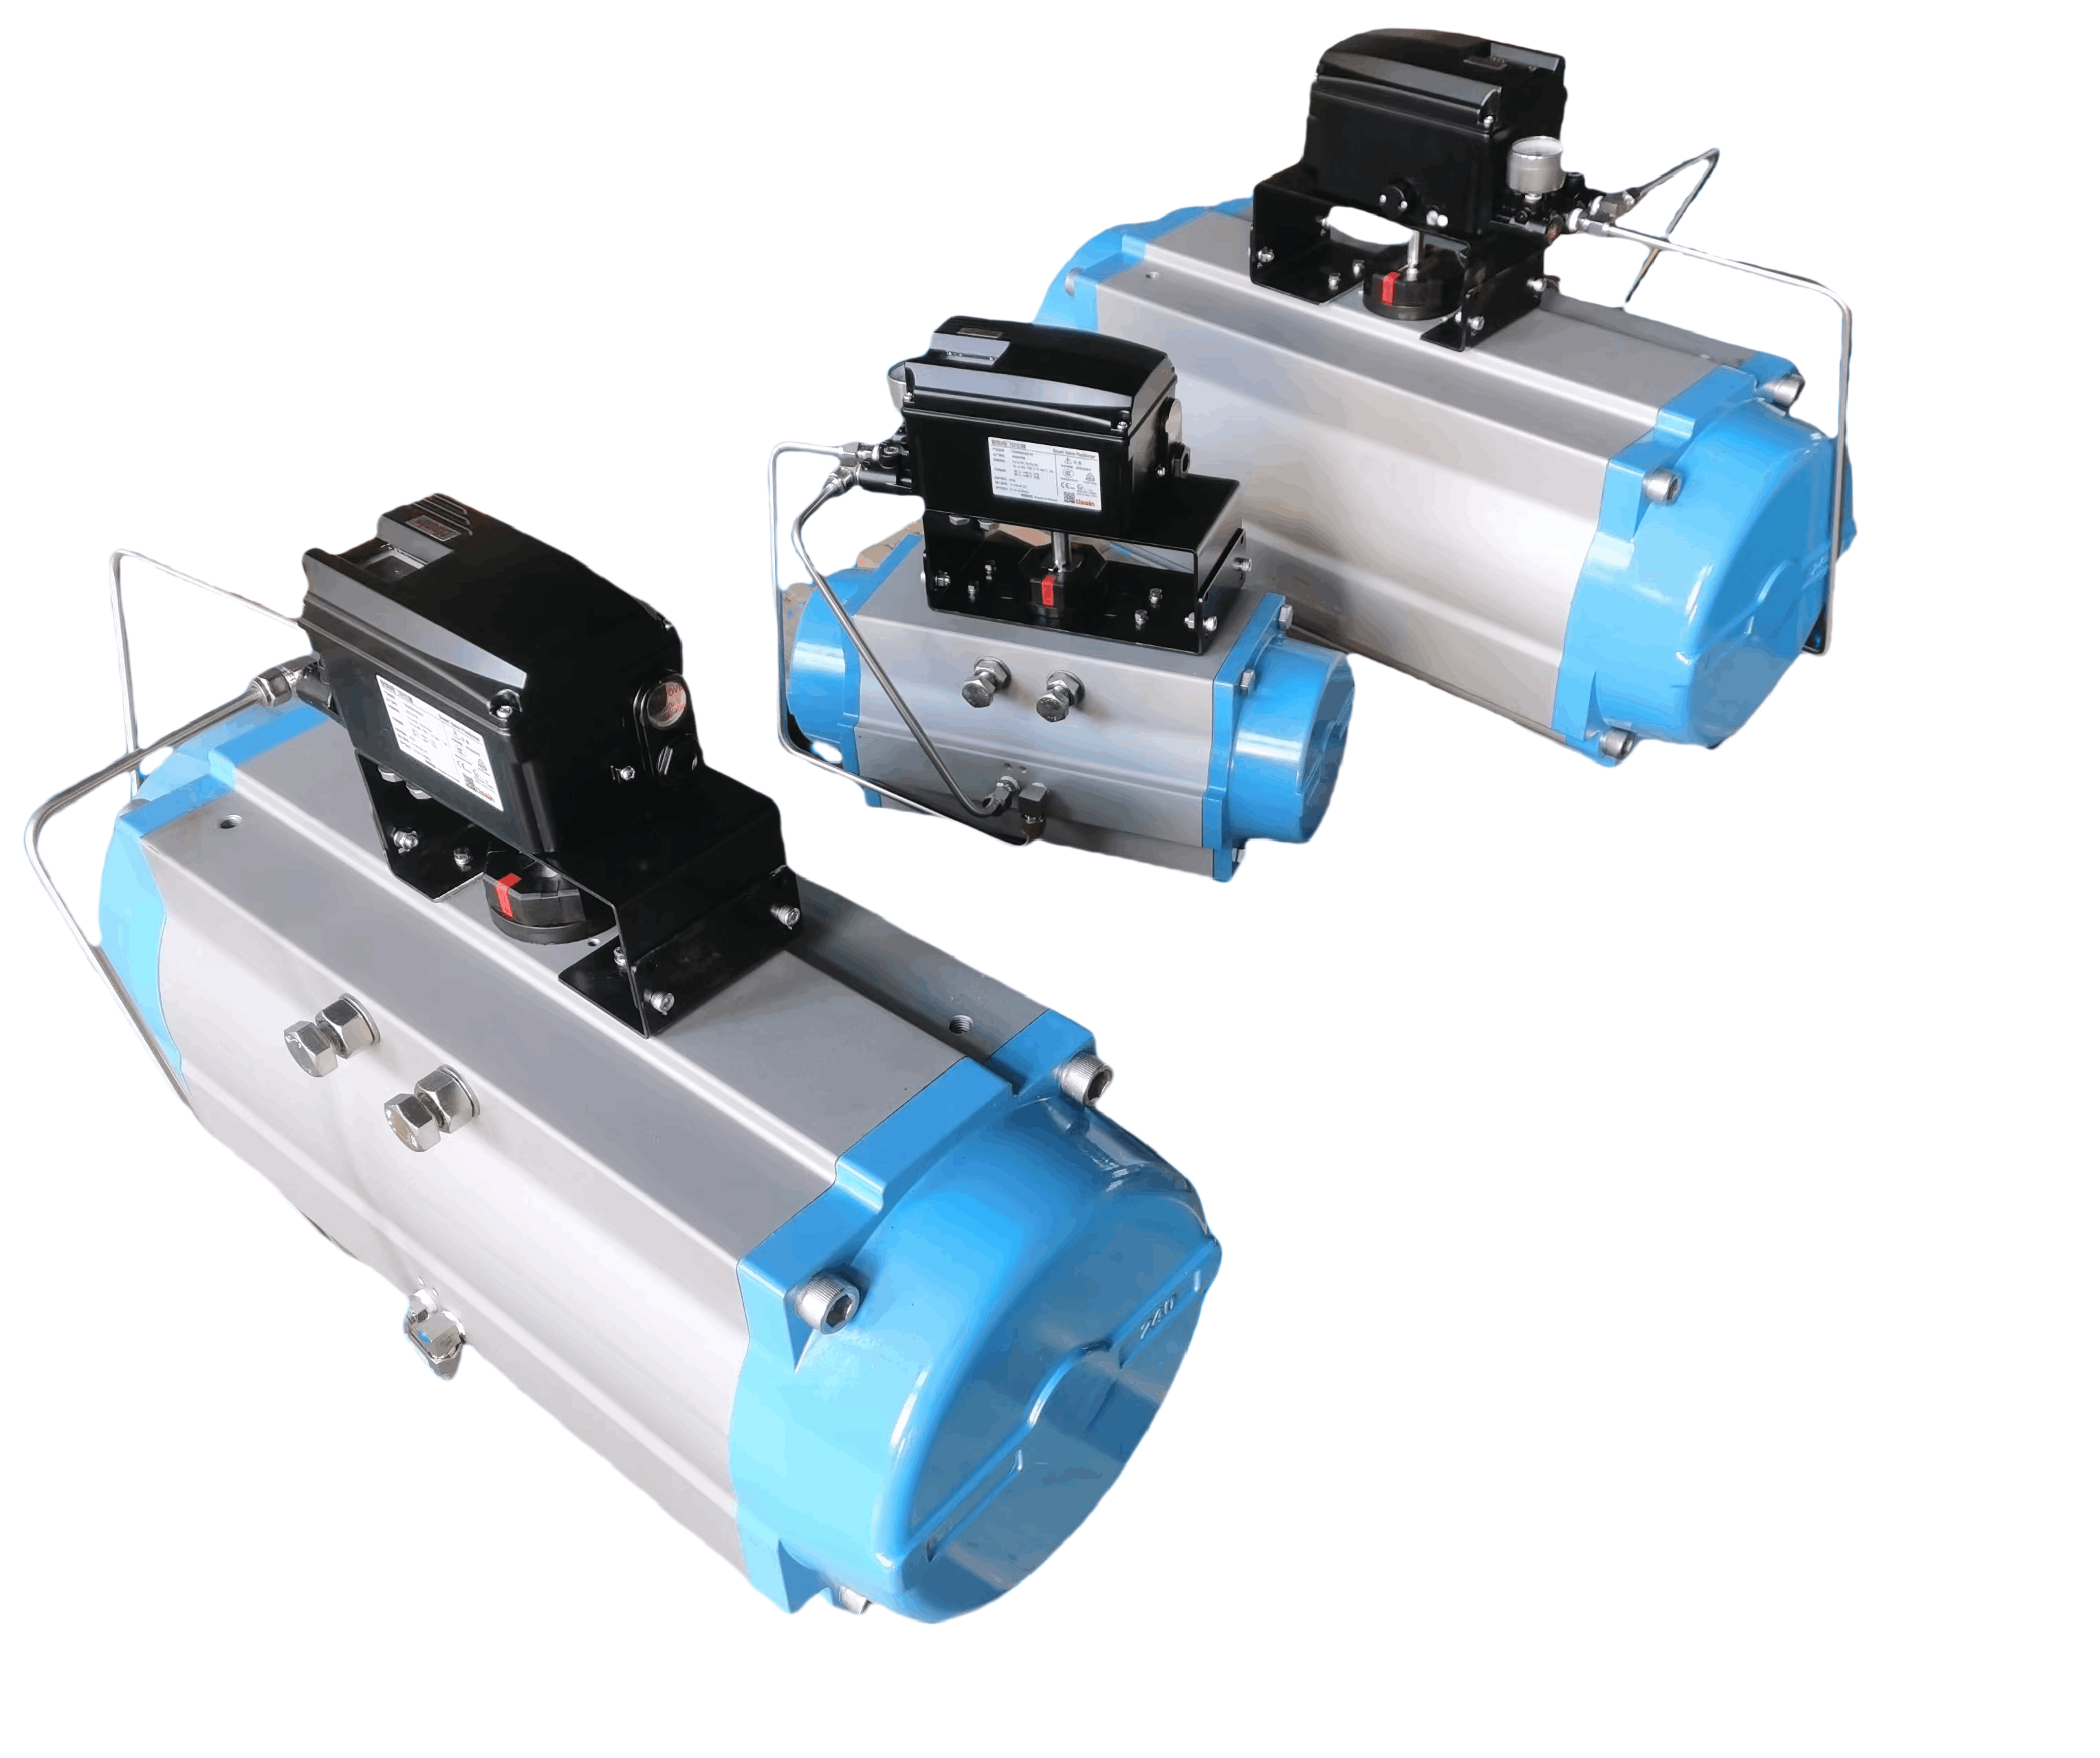
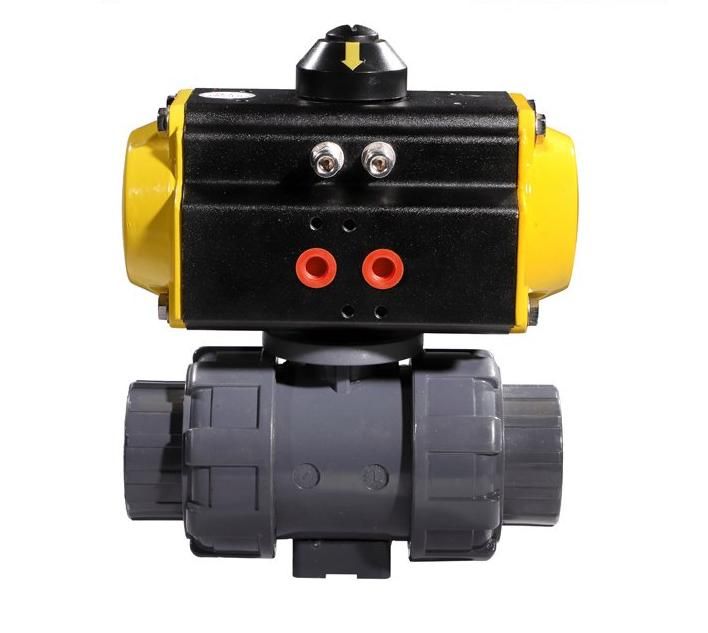
Calibrating positioners for modulating butterfly valves is critical to ensure precise control over media flow, as even minor misalignment can lead to inefficient operation or process instability. The process follows a structured sequence of preparation, adjustment, and verification to align the positioner's signal output with the valve's actual stroke.
System Preparation
First, prepare the system by isolating the butterfly valve from the process line and shutting off the air supply to the positioner. This prevents unintended valve movement during calibration.
- Disconnect any feedback links temporarily to allow free adjustment of the positioner
- Ensure the valve stem is clean and free of debris that could hinder smooth movement
- Connect a calibration device to the positioner's input signal port to send controlled electrical or pneumatic signals—depending on the positioner type
Zero Calibration
Send the minimum input signal to the positioner, which should correspond to the valve's fully closed position. Observe the valve stem; if it does not rest at the closed position, adjust the zero screw on the positioner until the valve is fully shut.
Confirm the alignment by checking that no media flows through the valve when in this state.
Span Calibration
Send the maximum input signal to the positioner, which should trigger the valve's fully open position. If the valve does not open completely, turn the span screw on the positioner to extend the stroke until the valve is fully open.
After setting zero and span, test intermediate signals to ensure linearity—for example, a mid-range signal should position the valve halfway between open and closed. Adjust the linearity screw if there is any deviation from the expected position.
Verification
Verify the calibration by cycling the positioner through multiple signal levels, from minimum to maximum and back. Observe the valve's response to ensure smooth, consistent movement without lag or overshoot.
- Reconnect the feedback links and restore the air supply
- Monitor the valve's operation under normal process conditions for a short period
- Confirm the calibration holds and the valve maintains precise flow control
Note: Always follow manufacturer-specific guidelines and safety procedures when performing valve calibration. Document all calibration activities for quality assurance and future reference.
If you want to learn more about low-priced products, please visit the following website: www.xm-valveactuator.com