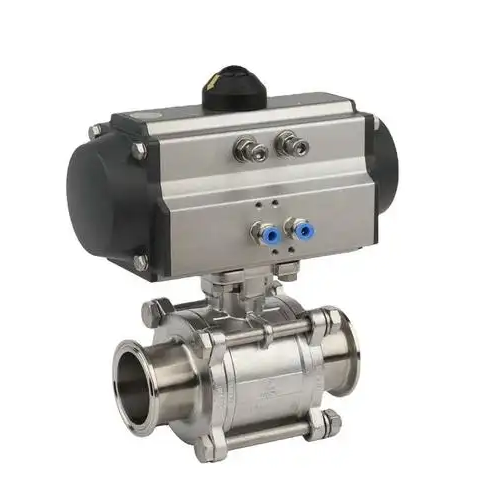
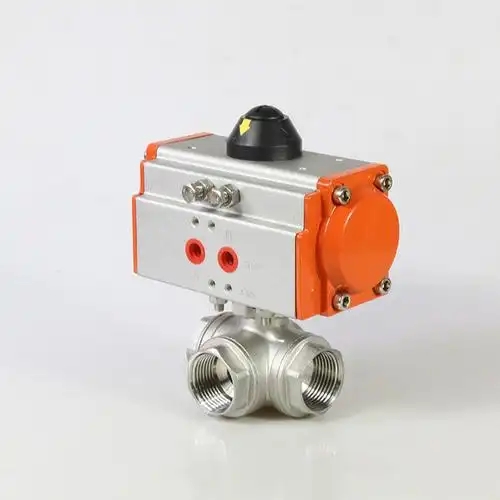
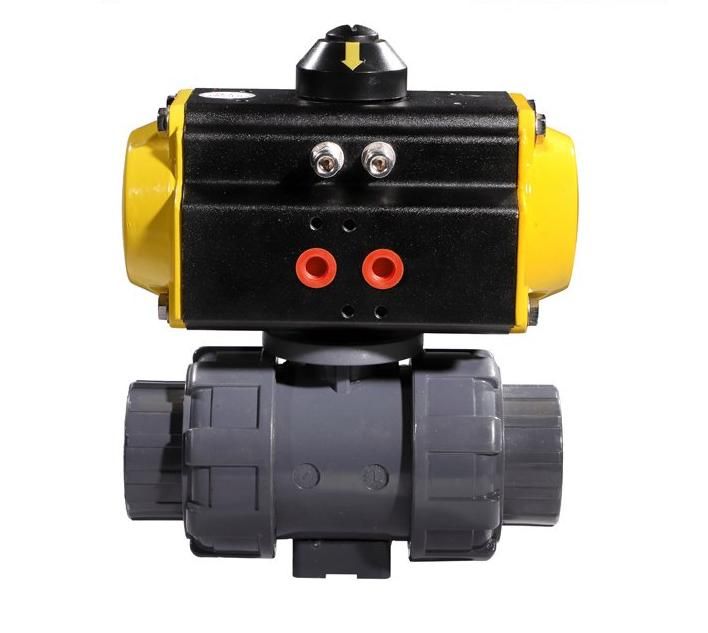
Actuator Piston Seal Repair Procedure
Essential repair process to stop air leaks, restore torque output, and prevent further component wear
Safety Preparation
- Shut off the air supply to the actuator and release any remaining pressure from air chambers
- Disconnect all air lines and electrical connections to isolate the actuator
- Gather tools including screwdrivers, wrenches, and a soft-bristled brush
- Ensure replacement seals match the actuator's make and model exactly
- Using incompatible seals will lead to leaks or further damage
Actuator Disassembly
- Remove the end caps or housing bolts using the appropriate wrench
- Loosen bolts evenly to prevent housing warping
- Gently separate the housing halves or end cap to expose the piston
- Avoid prying with sharp tools to prevent scratching the cylinder wall
- Pull the piston out carefully—wiggle slightly if it sticks
Cleaning & Inspection
- Use non-corrosive cleaner and soft cloth to remove old seal residue
- Clean piston groove, cylinder wall, and housing thoroughly
- Avoid abrasive materials that could scratch surfaces
- Inspect piston and cylinder wall for wear, deep scratches, dents, or corrosion
- Replace damaged components to ensure proper sealing
Seal Installation
- Lubricate the new seal with manufacturer-recommended lubricant
- Carefully press the seal into the piston's groove
- Ensure the seal sits flush and is not twisted or stretched
- Double-check the seal's orientation if it has a specific direction
- Misaligned seals will leak immediately upon operation
Reassembly & Testing
- Slide the piston back into the cylinder ensuring smooth movement
- Reattach end caps or housing halves, tightening bolts evenly
- Use crisscross pattern to distribute pressure and avoid distortion
- Reconnect air lines and electrical components
- Test for leaks using soapy water solution to detect bubbles
- Cycle the actuator to confirm smooth operation and no pressure loss
Troubleshooting Persistent Leaks
- Recheck seal installation for misalignment or damage
- Inspect piston and cylinder for unseen wear
- Verify correct seal type and orientation
- Check for proper lubrication and surface condition
- Properly repaired seals will restore actuator performance
If you want to learn more about low-priced products, please visit the following website: www.xm-valveactuator.com