Actuator Cleaning Procedure
Step-by-step guide for proper pneumatic actuator maintenance
Preparation Before Cleaning
Disconnect the actuator from the air supply and valve to avoid accidental activation. Relieve residual air pressure by opening exhaust valves.
Safety Checklist
- Verify power isolation
- Confirm pressure release
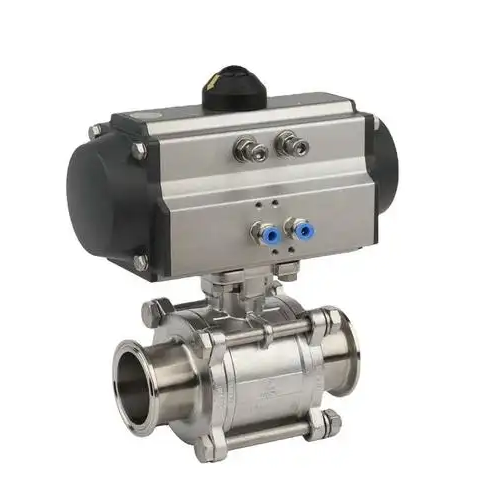
- Identify sensitive components
- Gather appropriate cleaning tools
Refer to the manufacturer's manual to identify sensitive components that require gentle handling.
External Cleaning
Use a soft cloth dampened with mild detergent or isopropyl alcohol to wipe the housing, removing dirt, grease, or industrial residues.
Internal Component Cleaning
If the actuator is disassembled for maintenance, clean metal parts with a degreaser or solvent compatible with the material. Rinse with clean water and dry thoroughly.
Material Compatibility
- Use pH-neutral cleaners for aluminum
- Non-chlorinated solvents for steel
- Mild soap solutions for rubber
- Isopropyl alcohol for plastic
Avoid harsh chemicals on rubber seals or plastic components, as they may cause degradation.
Drying and Inspection
Ensure all parts are completely dry before reassembly—use compressed air to blow out moisture from small passages.
Inspection Points
- Check seal integrity
- Examine gear teeth
- Verify air port clearance
- Inspect bearing surfaces
Inspect for wear or damage during cleaning: replace cracked seals, rusted gears, or clogged air ports to prevent post-cleaning malfunctions.
Reassembly and Testing
Reassemble components carefully, applying fresh lubricant to moving parts as specified. Reconnect the actuator to the air supply and test operation to confirm smooth movement.
Testing Protocol
- Verify full range of motion
- Check for air leaks
- Confirm response time
- Test under load conditions
If you want to learn more about low-priced products, please visit the following website: www.xm-valveactuator.com