Actuator Installation Guide
Step-by-Step Installation Procedure
1. Pre-Installation Preparation
- 1Disconnect the valve from the pipeline and relieve system pressure
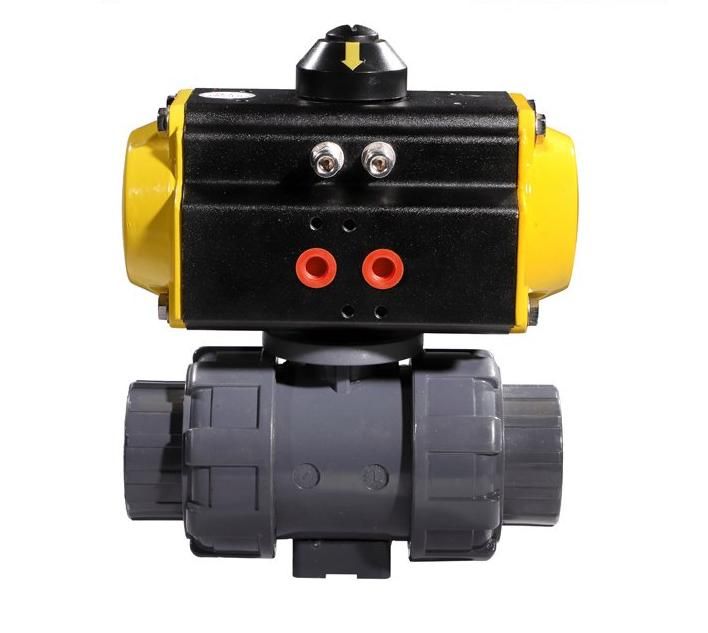
- 2Verify the actuator's torque rating matches valve requirements
- 3Check mounting flange alignment with valve stem (use adapter if needed)
Required Tools
Wrenches, torque wrench, thread sealant, alignment tools
2. Mechanical Mounting
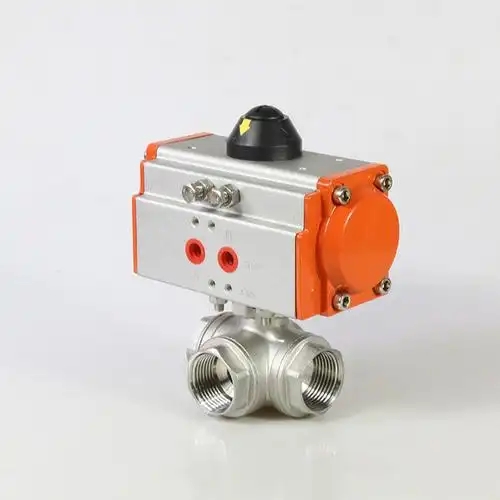
- 1Align actuator's drive shaft with valve stem for secure fit
- 2Tighten mounting bolts evenly to avoid misalignment
- 3Follow manufacturer's torque specifications
- 4Confirm no binding when manually rotating valve
Important
Uneven bolt tightening can cause actuator misalignment and premature wear.
3. Air Supply Connection
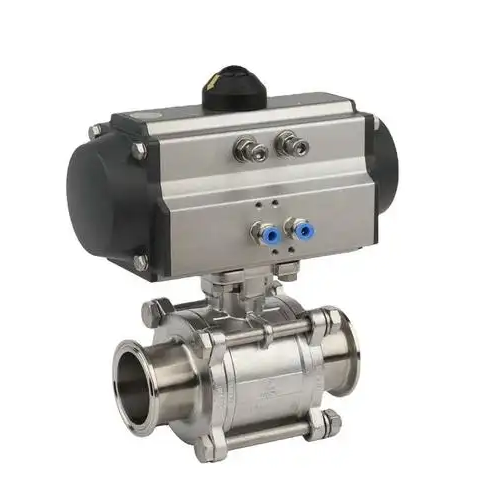
- 1Identify actuator's air ports (typically marked "open" and "close")
- 2Connect compressed air lines using thread sealant
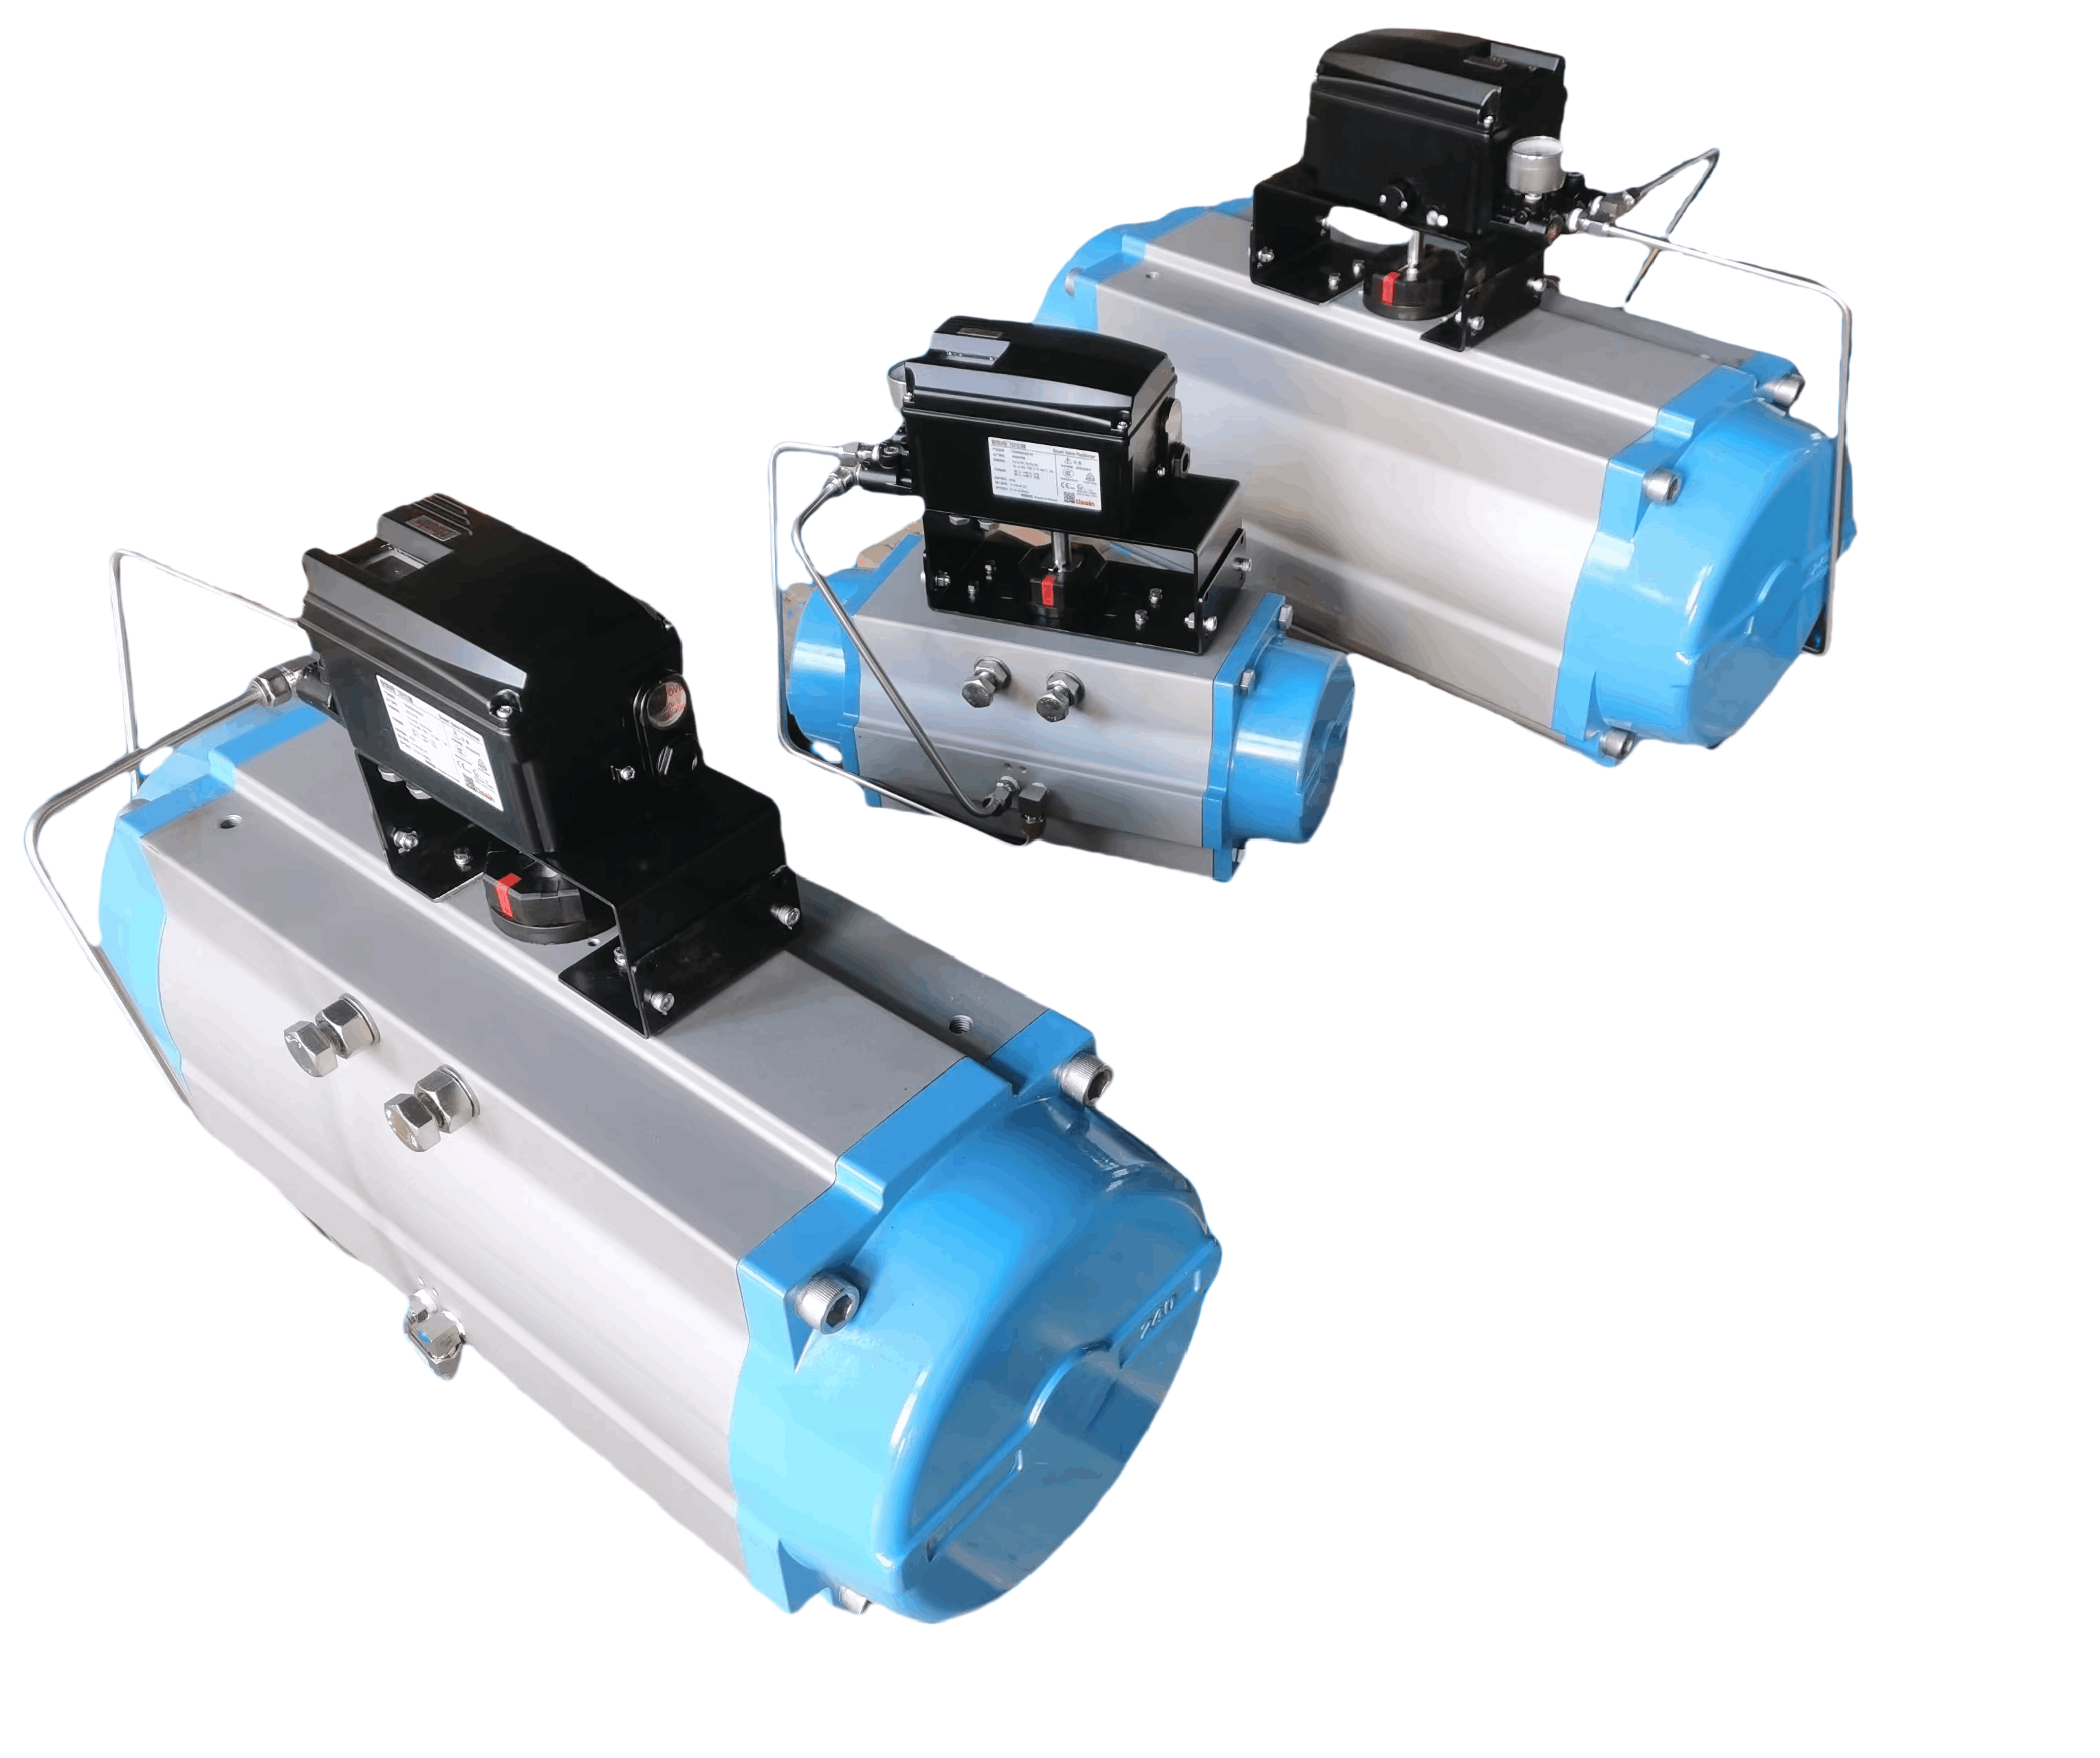
- 3Install filter-regulator-lubricator (FRL) in air supply line
4. Testing and Calibration
- 1Test both opening and closing cycles with air supply
- 2Check for smooth movement (no jamming or excessive noise)
- 3Use protractor to confirm full 90° rotation
- 4Adjust limit switches to prevent over-travel
- 5Reconnect valve to pipeline after successful testing
5. Final Checks
- 1Inspect all connections for leaks using soapy water
- 2Verify actuator response to control signals
-
3Document installation details:
- Pressure settings
- Torque values
- Test results
If you want to learn more about low-priced products, please visit the following website: www.xm-valveactuator.com