Pneumatic rotary actuators are widely used in industrial automation to operate quarter-turn valves such as ball valves, butterfly valves, and plug valves. Known for their compact structure, high torque output, and fast response time, these actuators are essential in industries including oil & gas, water treatment, chemical processing, power generation, and manufacturing.
Proper installation and maintenance are critical to ensure long service life, reliable torque output, and safe operation. This comprehensive guide explains how to install and maintain a pneumatic rotary actuator correctly while following best industrial practices.
What Is a Pneumatic Rotary Actuator?
A pneumatic rotary actuator converts compressed air energy into rotary motion, typically 90° rotation. The most common types include:
- Rack and pinion pneumatic actuators
- Scotch yoke pneumatic actuators
- Single-acting (spring return) actuators
- Double-acting actuators
These actuators provide precise valve automation and are commonly mounted using ISO 5211 standards for easy integration.
Part 1: How to Install a Pneumatic Rotary Actuator
Correct installation ensures optimal performance and prevents premature failure.
Step 1: Verify Specifications Before Installation
Before mounting the actuator:
- Confirm torque requirements of the valve.
- Check actuator torque output at available air pressure (usually 4–8 bar / 60–120 PSI).
- Ensure flange and shaft compatibility (ISO 5211 standard).
- Verify air supply quality (clean, dry, filtered air).
Tip: Always select an actuator with at least 25–30% safety torque margin.
Step 2: Inspect Components
Check the following:
- Valve stem condition
- Actuator shaft alignment
- Mounting brackets and bolts
- Seals and O-rings
Remove dust, debris, or corrosion before assembly.
Step 3: Mount the Actuator to the Valve
- Align the actuator output shaft with the valve stem.
- Install the mounting bracket securely.
- Tighten bolts evenly using a torque wrench.
- Confirm that the valve and actuator are in the same position (both fully open or fully closed).
Improper alignment can cause excessive wear and torque loss.
Step 4: Connect Air Supply
- Install air tubing to the correct actuator ports.
- Use thread sealant to prevent leakage.
- Install FRL unit (Filter-Regulator-Lubricator) if required.
- Adjust regulator to recommended pressure.
For double-acting actuators, connect both air ports.
For spring-return actuators, connect only the designated pressure port.
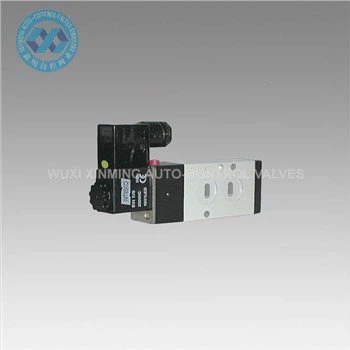
Step 5: Install Control Accessories
Optional accessories include:
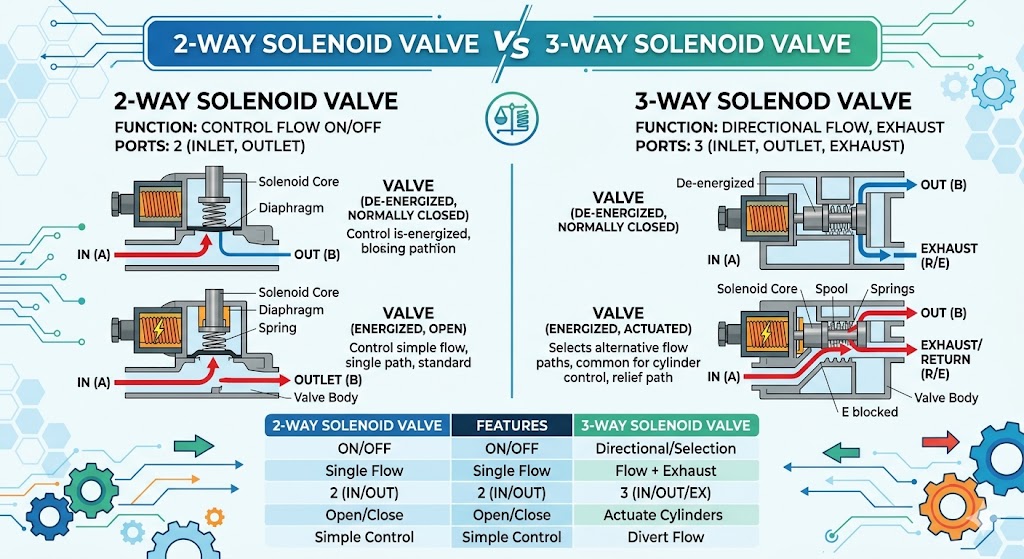
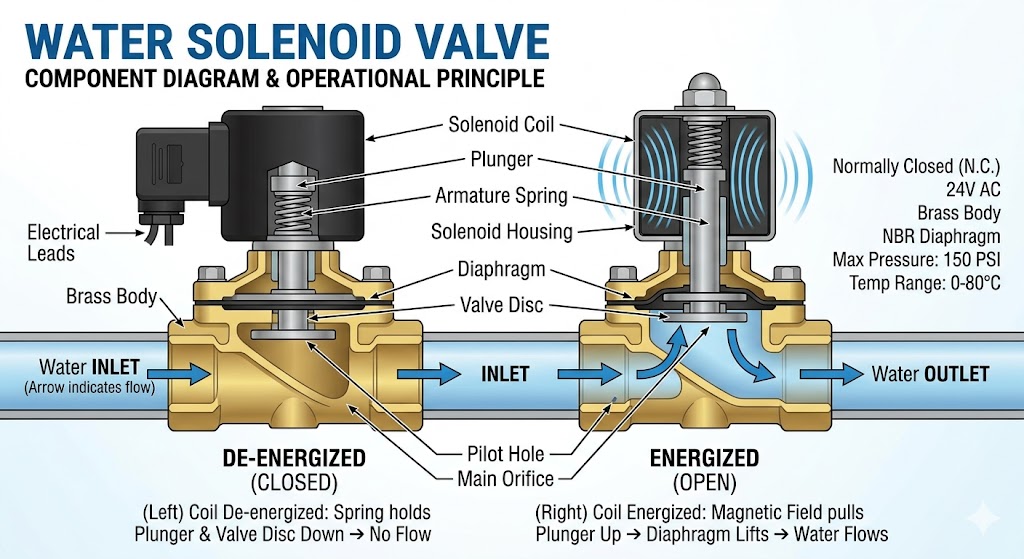
- Solenoid valves
- Limit switch boxes
- Positioners
- Air regulators
Ensure correct wiring and signal configuration according to control system requirements.
Step 6: Perform Functional Testing
After installation:
- Apply air pressure gradually.
- Check smooth rotation (0–90°).
- Inspect for air leakage.
- Confirm proper open/close position feedback.
Cycle the actuator several times before putting it into service.
Part 2: How to Maintain a Pneumatic Rotary Actuator
Routine maintenance prevents unexpected downtime and extends service life.
1. Maintain Clean and Dry Air Supply
Air contamination is the leading cause of pneumatic actuator failure.
- Replace air filters regularly.
- Drain moisture traps.
- Inspect air dryers.
- Maintain stable air pressure.
Poor air quality leads to seal damage and internal corrosion.
2. Inspect for Air Leaks
Common leak points include:
- Fittings
- Air ports
- O-rings
- Solenoid valve connections
Use a soap-water solution to detect leaks and tighten fittings as needed.
3. Check Fasteners and Mounting Alignment
Vibration during operation may loosen bolts over time.
- Re-torque mounting bolts periodically.
- Inspect bracket stability.
- Confirm actuator-to-valve alignment.
Misalignment can reduce actuator lifespan significantly.
4. Lubrication (If Applicable)
Most modern rack and pinion pneumatic rotary actuators are factory-lubricated and maintenance-free. However:
- Inspect internal grease condition during scheduled shutdown.
- Re-lubricate if recommended by the manufacturer.
Avoid over-lubrication, as it may attract dust and debris.
5. Inspect Seals and Springs
For spring-return pneumatic actuators:
- Check spring integrity.
- Inspect for corrosion.
- Replace worn O-rings and seals.
Seal replacement intervals depend on operating cycles and environmental conditions.
6. Monitor Performance Indicators
Watch for:
- Sluggish operation
- Reduced torque
- Incomplete valve rotation
- Abnormal noise
Early detection reduces repair costs and downtime.
Common Installation Mistakes to Avoid
- Incorrect actuator sizing
- Ignoring torque safety factor
- Poor air quality management
- Misalignment during mounting
- Over-tightening bolts
- Skipping functional testing
Avoiding these mistakes ensures stable long-term performance.
Recommended Maintenance Schedule
| Maintenance Item | Frequency |
|---|---|
| Air filter inspection | Monthly |
| Leak inspection | Monthly |
| Mounting bolt check | Quarterly |
| Seal inspection | Annually |
| Full internal inspection | Every 2–3 years |
Heavy-duty or high-cycle applications may require more frequent servicing.
Benefits of Proper Installation and Maintenance
- Extended actuator lifespan
- Reduced downtime
- Stable torque output
- Improved safety performance
- Lower operating costs
- Reliable valve automation
When installed and maintained correctly, a high-quality pneumatic rotary actuator can operate for millions of cycles with minimal maintenance.
Conclusion
Knowing how to install and maintain a pneumatic rotary actuator is essential for ensuring reliable valve automation in industrial systems. Proper sizing, correct alignment, clean air supply, and routine inspections significantly improve performance and durability.
Whether using a rack and pinion or scotch yoke design, consistent preventive maintenance and professional installation practices will maximize efficiency and protect your investment.
If you want to learn more about low-priced products, please visit the following website: www.xm-valveactuator.com